

Ice cream is always a welcome addition to my day, and it’s easy to make with ingredients you may already have in your kitchen. Grab your supplies and get ready to shake, shake, shake your way to a delicious frozen treat, while also learning a little bit of science along the way.
Materials to collect:
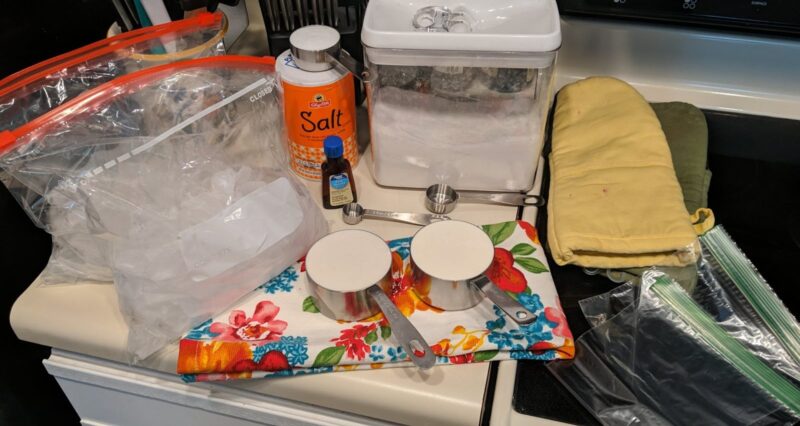
- 2 cup of half and half (or 1 part milk, 1 part cream)
- 2 teaspoons of vanilla extract
- 2 tablespoon of granulated sugar
- ¼ cup of salt
- Ice
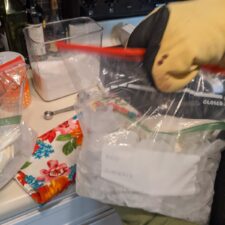
- 4 plastic bags (2 gallon size, 2 sandwich size)
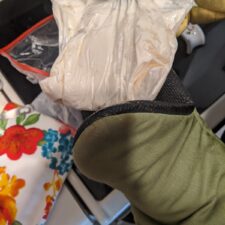
- Two oven mitts
How to conduct this sweet experiment:
- Pour 1 cup of half and half, 1 tablespoon of sugar, and 1 teaspoon of vanilla into each of the smaller bags. Milk will also work, but the ice cream won’t be as creamy.
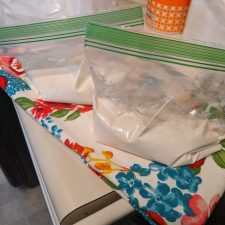
- Squeeze any extra air out of the bags and seal them tightly to ensure none of your delicious ingredients escape and nothing gets inside.
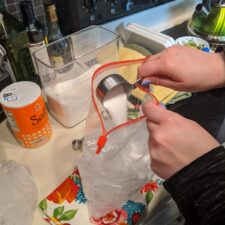
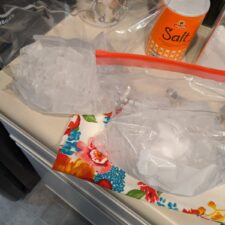
3. Fill your larger bags halfway with ice. Add all of the salt salt to one, and then place one of the filled smaller bags inside. In the other, only add the remaining smaller bag—do not include salt. Seal both larger bags.
4. Before you start shaking, try to predict which bag—salt, or no salt—will make better ice cream and think about why.
5. Now, put on your oven mitts and shake each of the bags for about 7 minutes. If you have someone else to help and two other oven mitts, you can shake both bags at the same time. Be careful! The bags will be extra cold!
6. When you’re done shaking, keep your mitts on and open both of the larger bags. Remove the smaller bags and rinse off any salt with cold water.
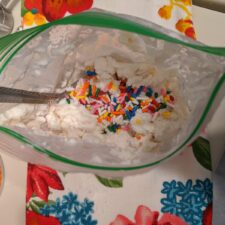
7. Open both smaller bags and examine your results. Stir up any ice crystals that have formed to smooth out your mixture. Which bag made the best ice cream?
8. Scoop the successful ice cream into a bowl and enjoy the tasty products of your science experiment. Or, if you just can’t wait, enjoy it right from the bag. Don’t forget to snap a picture!
9. Don’t let the unsuccessful batch of half and half, sugar, and vanilla go to waste. Using what you’ve learned, make a second serving of ice cream to share with your family or save for later!
What is the Science?
In the winter, when the roads get really slippery, we lay salt down to eliminate the ice. This technique works because salt lowers ice’s melting point, which means that it changes from a solid to a liquid at a lower temperature. Similarly, when we add salt to the ice for this recipe, the ice melts more quickly. When things melt they pull heat from their surroundings. The faster the ice melts, the faster it pulls heat away from the half and half mixture, causing it to freeze. That’s also why we wear oven mitts to protect our hands, since the ice is taking heat away from both the ice cream and our hands.
Ask Your Young Scientists:
- Was your prediction about which bag produced better ice cream correct?
- What do you think would happen to the mixture if you added different ingredients?
- What other treats could you make using this technique?
- What did you notice about the appearance of the bags as you were shaking?
More to Explore
- For more food science fun, check out Science at Play: Make Your Own Butter!
- If you have a thermometer on hand, before you add salt to the batch that didn’t successfully produce ice cream, measure some of the melted water that has accumulated at the bottom of both bags and compare the temperatures. Be sure to wear your oven mitts. Which one is colder? Why do you think that is?
- To witness salt’s effect on ice, set up an experiment to test the effects of different amounts of salt on three ice cubes of the same size. On a glass dinner plate, drop a teaspoon of salt on one cube, half a teaspoon of salt on the next cube, and then no salt on the last cube. Check back on them periodically and notice their differences in size over time. Once you put salt on the ice cubes, be careful not to touch them—simply rinse them in the sink when you’re done! Which ice cube decreased in size and changed to water more quickly? For reference, check out this video:
We want to see what you try at home. Share your creation with us on social media by using the #ScienceAtPlay and tagging @CTScienceCenter.

Kelsey Ballard the STEM Career Coordinator at the Connecticut Science Center. In her role, she helps build interactive learning experiences with STEM professionals and educators to inspire local youth to pursue STEM careers in their home state. She studied Biological Sciences and Psychology at the University of Connecticut and received her master’s in Healthcare Administration at the University of New Haven. In her free time, she loves baking and crafting.