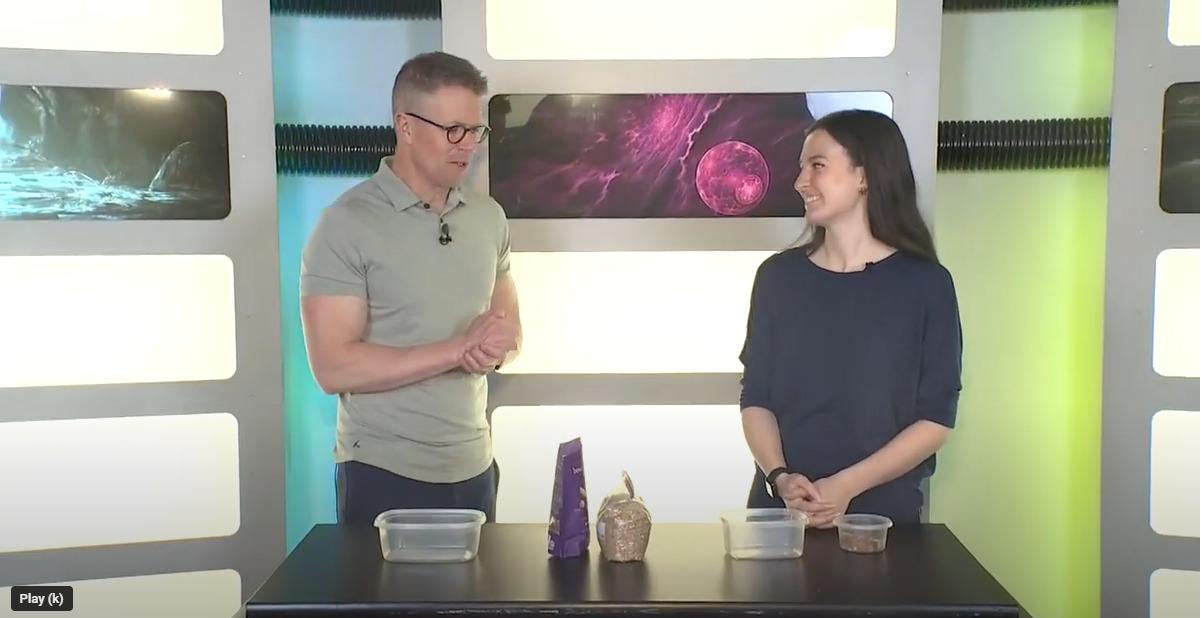
Welcome to Earth Science week at the Connecticut Science Center. If you have ever made a sand castle at the beach, you know that sand can be great for building, but not too strong when weight is added. What if there was a way to make the structure stronger, strong enough for me to stand on without it breaking? Engineers are already doing this, and today we will show you just how it is done- and how you can try it at home.
Materials to Collect
- Play Sand or Dirt
- Buckets or Molds
- Water
- Tamper Stick of Science! (spare piece of wood, something with flat bottom)
- About 5 pieces of thin non-stretchy material cut to fit your mold for example:
- Copy paper or paper towel
- Cardboard
- Window screen
- A weight to test with (brick works great!)
- A good place to make a mess
Try it!
Test your own designs!
Create your own structures to test. Try layering in different materials and test them for strength. Can you stand on your sand castle? (haha stand castle)
Keep in mind some key tips:
- Say When with Water – Water is helpful when using play sand, but can cause a soggy mess with dirt. I find the right amount of water by adding it slowly and testing my mix often by trying to make a little wall in between my hands. If the wall stays up, then I’m good.
- Tampy Tamp Tamp! – Make sure to take the time to pack the sand or dirt together nicely. Tamping removes the air to make a much stronger structure because air easily compresses (squishes). Time and some diligence are needed to get the best results. So go in layers like you see in the video.
- Start Small – The larger the bucket, the heavier this experiment gets. The black bucket in the video was 2 gallons and was heavy for me… the science giant. Start off with a large yogurt container or ice cream box. Uniform shapes like cylinders, cubes, and rectangular prisms are easiest to cut your layering material for, unmold, and test.
What is the Science?
There are five primary stress forces that can cause materials to fail:
- tension a.k.a. stretching
- compression a.k.a. crushing
- torsion a.k.a. twisting
- shear a.k.a. tearing
- bending a.k.a. flexing
https://www.aircraftsystemstech.com/p/major-structural-stresses.html
Kids absolutely LOVE to test all of them! We see it all the time at the Connecticut Science Center. Button pressed as hard as possible: compression failure. Lever pulled with entire body weight: bending failure. Camper tugs their lanyard hard enough to pop: tension failure. Kids love destructive testing so much, give them a data table and some structure and you now have a materials science lab!
Stabilized Earth relies on two of these stress forces, compression and tension. Compression stress is due to gravity/weight, and tension stress is due to the material spreading apart. Dirt standing shoulder to shoulder packed together in the ground or a container is what supports every structure that humans have ever built on land, but when that dirt is made to stand tall and alone, it fails. It is simply too weak against tension forces, there is nothing holding those smaller pieces together.
The stabilizing or layering material counteracts this weakness. The layers of stabilizing materials are very strong against tension stress and keep the material from spreading, helping it to stand up to incredibly high compression forces. Especially on the small scale, many different materials fit the bill to stabilize your models. That is what makes this such a fun concept for kids to explore. Be safe and be creative with the materials you try.
Once you scale up to highway size, other factors like cost, longevity, maintenance, ease of replacement, and environmental impact all become part of the complex calculations engineers and planners make as they literally shape the world around us.
Ask Your Young Scientists
- If this test fails, where do you think the break will happen? Why?
- Why did the castle fail? Why was it crushed by the weight?
- Can you crush a piece of sand or dirt?
- So why did the dirt fail to support the weight?
- How can we help stop this from happening, can we add something else to our model?
- Can you think of a way to combine materials to make something better?
More to Explore
- An engineering mindset is wonderfully engaging with kids. They love building and testing things, help them define what successful testing looks like and some ways to make improvements and you will be helping to foster a little problem solver. Try adding engineering and testing challenges to other builds with other materials. Our STEM Challenges series is a great place to get practice. https://www.youtube.com/playlist?list=PLiqPObYomoEzZiec-nbLtumK3-1tC4XDl
- Stabilized earth is the term for a whole category of geotechnical engineering. With the advent of new materials, methods, and technologies there is an ever-increasing menu of solutions engineers can apply to specific local situations where ever work is being done. Checkout Practical Engineering’s video, it was essential in the making of this Science At Play https://youtu.be/0olpSN6_TCc . His other videos are also great at helping explain our constructed environment.
Bricks, cobb, mud and thatch, adobe, rammed earth, wattle and daub, turf bricks and roofs, and straw-bale are all ways of using earth’s materials for home and small building construction. These techniques are ancient but are still used around the world in order to be more financially and environmentally sustainable. Start to dive into larger scale natural building techniques here: https://www.greenbuilt.org/resources/natural-building/
We want to see what you try at home. Share your experiments with us on social media by using the #ScienceAtPlay and tagging @CTScienceCenter.

Bryan Avery has been working as a STEM Educator at the Connecticut Science Center for 3 years. He develops and facilitates student programming in our labs as well as traveling programs. He holds degrees in Geology and Parks and Natural Resource Management from Hartwick College and Slippery Rock University. Creating exciting new ways for students to interact and engage with STEM is his professional passion. He has a flare for delivering shows to crowds as well as working one-on-one where he pushes students to think deeper and make connections between STEM, their lives, and their community. On his time off, he enjoys playing disc golf, guitar, and being outdoors.


